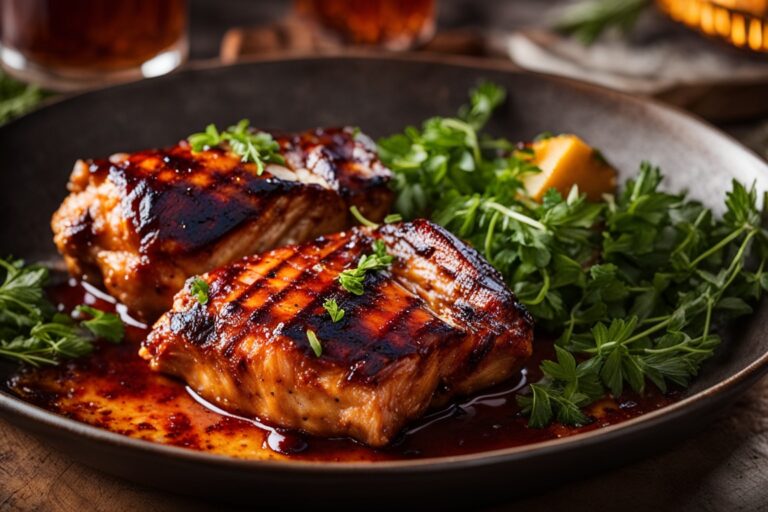
The sizzle of a juicy steak on the grill sparks memories of warm summer evenings and the mouthwatering aroma of backyard barbecues. Standing beside your grill, tongs in hand and a smile on your face, you’re not just preparing dinner — you’re crafting a moment to remember. That perfect, caramelized sear transforms an ordinary cut into a culinary masterpiece.
Grilling techniques may evolve, but the magic of searing meat never goes out of style. Whether you’re a seasoned grill master or just getting started, mastering the sear is a game-changer. It elevates your outdoor cooking and adds that irresistible, flame-kissed flavor. Let’s dive into the art of creating the perfect crust — where bold heat meets juicy steak for unforgettable results.
Searing isn’t just about giving your steak a pretty crust — it’s the secret behind those bold, crave-worthy flavors. When that steak hits the hot grill, the Maillard reaction kicks in, creating a cascade of rich, complex tastes. This golden-brown crust isn’t just eye candy; it’s flavor-packed proof that your steak is ready to impress and impossible to resist.
Key Takeaways
- Searing enhances flavor through the Maillard reaction
- Proper preparation is crucial for a perfect sear
- High heat is essential for achieving a good crust
- Timing and technique play vital roles in searing
- Rest your steak after searing for optimal juiciness
- Practice makes perfect when mastering grilling techniques
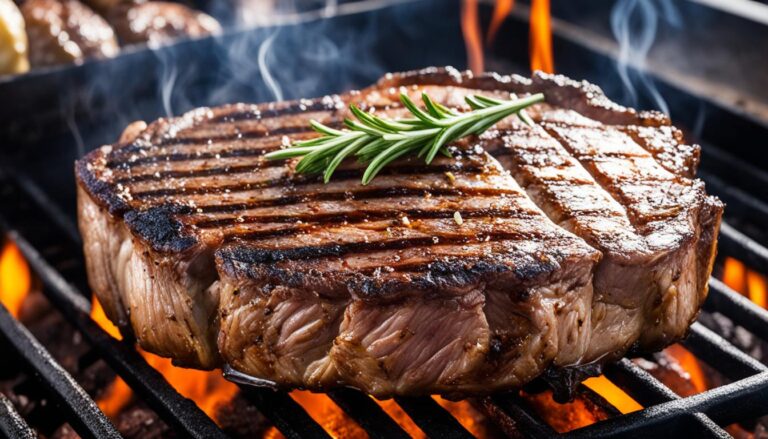
Understanding the Science of Searing
Searing isn’t just about giving your steak a pretty golden crust — it’s the secret behind those bold, crave-worthy flavors. When that juicy cut hits the hot grill, the Maillard reaction kicks in, creating a cascade of rich, complex BBQ flavor. This process is essential in steak searing, as it leads to deep flavor development and an irresistible crusty steak. The right searing technique not only boosts taste but transforms your cooking into a true art. It’s this golden-brown layer that tells you your perfect steak is ready to shine.
The Maillard Reaction: Creating Flavor and Color
The Maillard reaction is vital for rich steak flavor. It happens when proteins and sugars in meat hit high heat, usually over 280°F. This creates new flavor compounds and the brown color we all enjoy.
Debunking the Moisture Seal Myth
Searing doesn’t actually seal in moisture, despite the popular myth. What really happens is that the intense heat causes the meat’s proteins to contract, forcing out water. That loud, satisfying sizzle you hear? It’s not magic — it’s just the rapid boiling of surface moisture into steam. Understanding this bit of grilling science helps you cook smarter and achieve a better searing technique.
Why Searing Enhances Taste and Texture
Searing improves taste and texture through caramelization. It removes surface moisture, making flavors stronger and the steak look appetizing. For example, the afterburner method hits almost 800°F, giving steaks a perfect sear in 2 to 3 minutes per side.
| Searing Method | Temperature | Cooking Time |
|---|---|---|
| Afterburner | 800°F | 2-3 minutes per side |
| Vigneron | 800-1,000°F | Less than 10 minutes |
| Caveman | Variable | About 3 minutes total |
Knowing these principles can lead to better grilling results. It helps create the perfect mix of flavor, texture, and look for steaks.
Preparing Your Steak for the Grill
Choosing the right cut of meat is one of the most important steps to mastering great grilling. Go for high-quality options like ribeye, New York strip, or filet mignon — these premium steak cuts are known for their rich marbling, which keeps them juicy, tender, and packed with flavor. The right cut can make all the difference between an average cookout and an unforgettable one.
Bringing Steak to Room Temperature
Take your steak out of the fridge 30 minutes before grilling. This is important for even cooking. Meat at room temperature cooks more evenly, giving you a better sear and doneness.
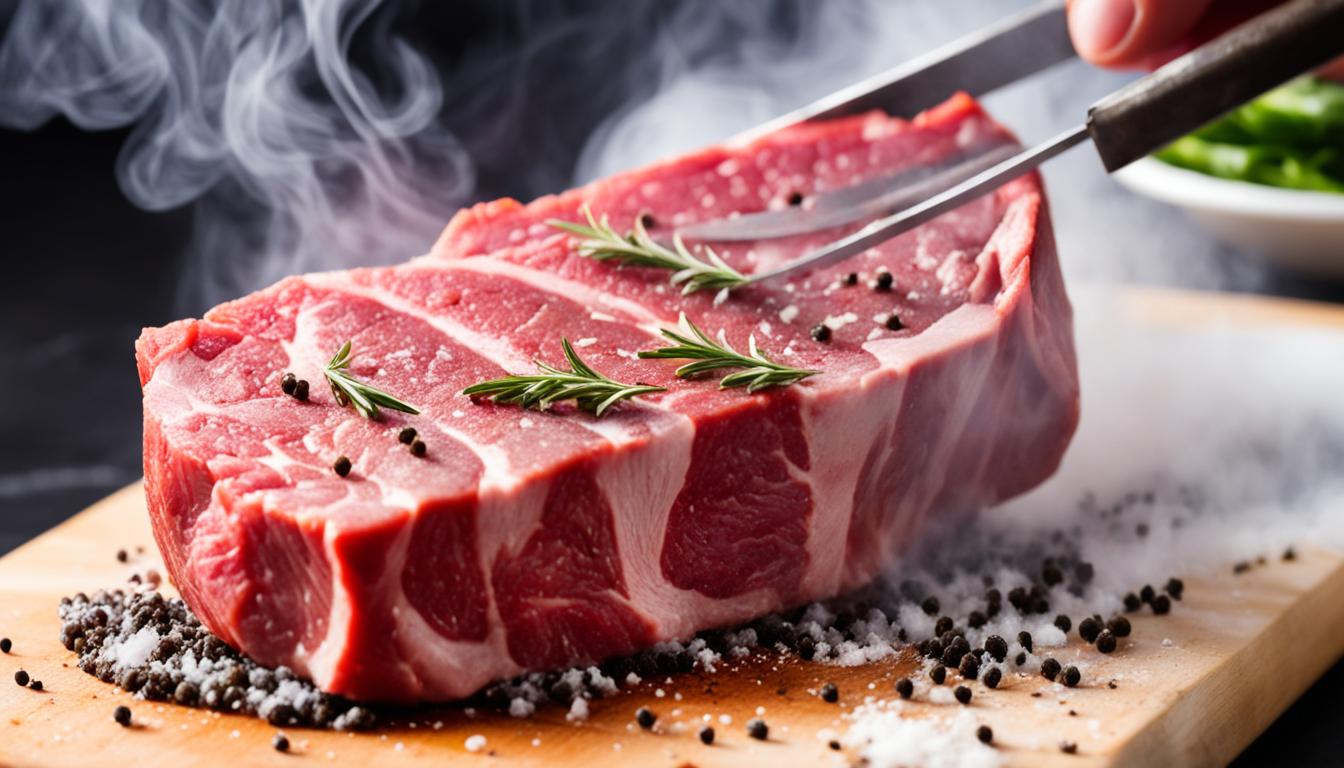
Patting Dry and Seasoning Techniques
Before your steak hits the heat, pat it dry with paper towels to remove any surface moisture — this simple step is key to getting that perfect seared crust. Moisture is the enemy of a good sear. For seasoning, stick with the classics: kosher salt and freshly cracked black pepper. Be generous — this bold, simple combo builds a deeply flavorful, tasty crust that elevates your entire steak grilling experience.
For more complex flavors, try marinating steaks. A good marinade tenderizes the meat and adds depth to its taste. Marinate for 2-8 hours before grilling for the best results.
| Cut | Thickness | Searing Time (per side) |
|---|---|---|
| Ribeye/NY Strip | 1 inch | 3-4 minutes |
| Filet Mignon | 2 inches | 3-4 minutes, then indirect heat |
Thicker cuts (1.5 inches or more) work best. They get a perfect sear without overcooking the inside. With these tips, you’re ready for a memorable grilling experience.
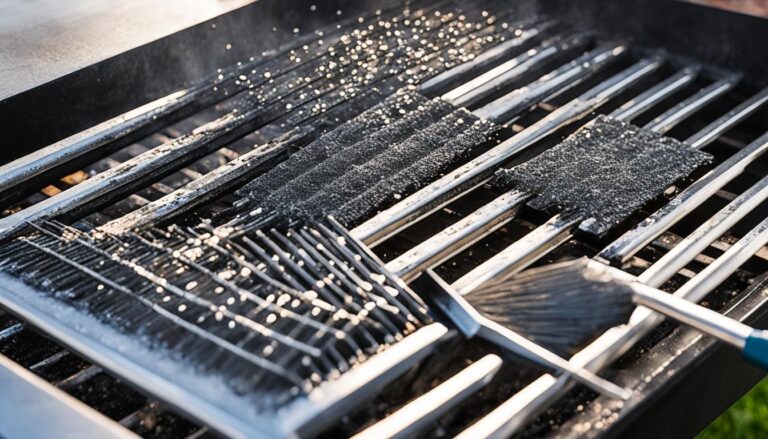
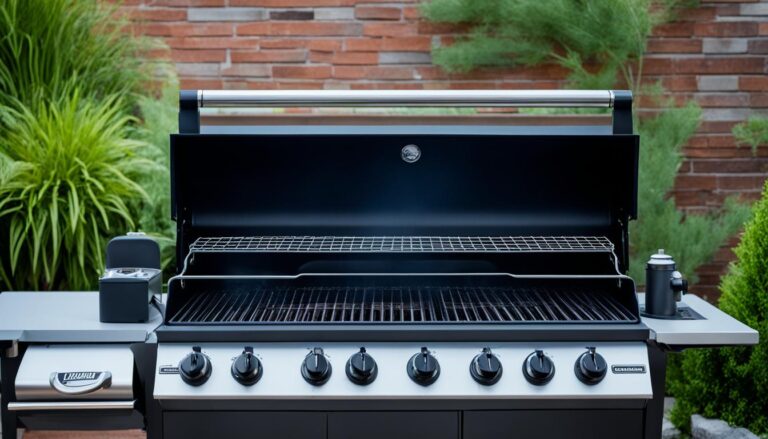
Essential Equipment for Searing on the Grill
Searing steak on the grill isn’t just about technique — it starts with the right grilling gear. A high-quality grill with adjustable heat control is essential for achieving that ideal seared crust. Just as important are durable, sturdy grill grates that distribute even heat and leave those signature grill marks on your steak. With the right tools, you’re already halfway to grilling perfection.
Get long-handled tongs to flip your steak safely. An instant-read thermometer is a must for checking the meat’s temperature. For rare steaks, aim for 120-125°F, and 130-135°F for medium-rare.
- Charcoal grill: Offers intense heat and smoky flavor
- Gas grill: Provides precise temperature control
- Cast-iron skillet: Great for alternative searing methods
Remember safety first! A well-ventilated area is crucial. Keep a fire extinguisher handy and use heat-resistant gloves with hot tools.
| Steak Doneness | Temperature (°F) |
|---|---|
| Rare | 120-125 |
| Medium Rare | 130-135 |
| Medium | 140-145 |
| Medium Well | 150-155 |
| Well Done | 160-165 |
With these key grill grates and tools, you’re set to sear the perfect steak on your grill.
How to Sear Steak on Grill: Step-by-Step Guide
Learning to sear meat on the grill can take your cooking to the next level. This guide will help you get that perfect crust every time.
Preheating Your Grill to the Ideal Temperature
Begin by heating your grill to the best searing temperature. Aim for 450-500°F. This high heat is key for a great crust without overcooking the inside.
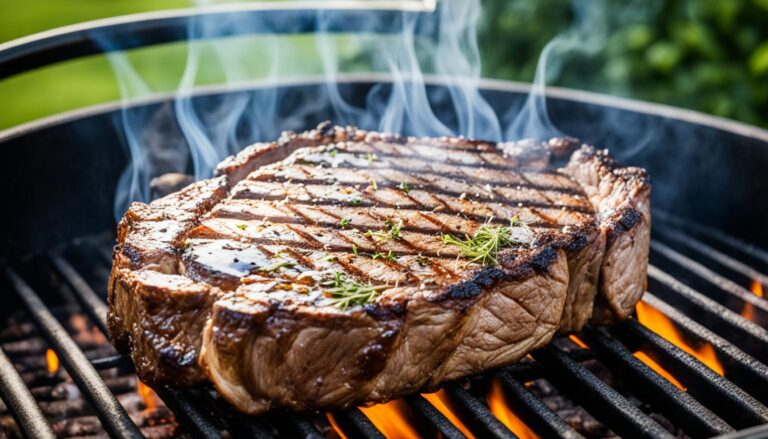
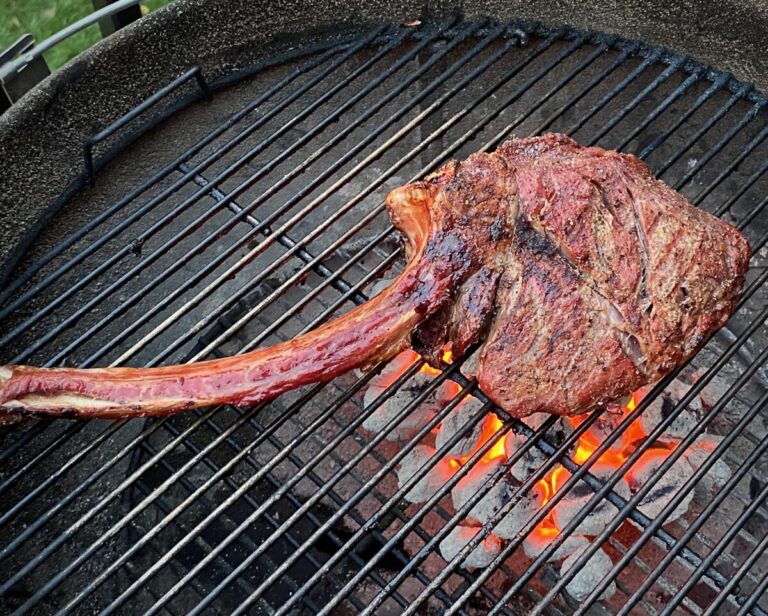
Positioning the Steak on the Grates
Once your grill is properly preheated, place your steak directly on the hottest part of the grates. This direct heat is crucial for getting that rich, golden seared crust and locking in flavor. Don’t move it too soon — let the heat do its work for a perfect grill sear.

Timing the Perfect Sear
The time to sear depends on the steak’s thickness. For a 1-inch steak, sear each side for 3-7 minutes. Thicker steaks, about 1 ¼ inches, need 8-10 minutes per side. Adjust these times as needed.
Flipping Techniques for Even Cooking
When searing your steak, flip it just once or twice to build an even, flavorful crust without overhandling it. Always use tongs instead of a fork — piercing the meat lets valuable juices escape, which can dry it out. This careful method helps maintain the right internal temperature and ensures even cooking from edge to center.
| Doneness | Internal Temperature | Grill Time (per side) |
|---|---|---|
| Rare | 120-130°F | 3-4 minutes |
| Medium Rare | 130-135°F | 4-5 minutes |
| Medium | 135-140°F | 5-6 minutes |
After searing, let your steak rest for 5-10 minutes. This lets the juices spread, making the steak more flavorful and tender.
Mastering Grill Temperature Control
Learning how to control the grill temperature is crucial for a perfect steak sear. To cook outdoors successfully, you must know how to manage the heat on your grill. Set up two zones: a high heat for searing and a lower heat for finishing thicker cuts.
For gas grills, adjust the burners to make these zones. With charcoal grills, arrange the coals for direct and indirect heat. Use thermometers, either built-in or external, to keep an eye on the grill temperature while cooking.
For the perfect steak sear, aim to heat your grill between 450°F and 550°F. This high grill temperature is ideal for triggering the Maillard reaction, the magic behind that rich, deep flavor and beautiful crust. Cooking at lower temperatures simply won’t cut it — you’ll miss out on the bold, caramelized taste that makes grilled steak unforgettable.
| Doneness | Internal Temperature | Grilling Time (per side) |
|---|---|---|
| Rare | 120-125°F | 3-4 minutes |
| Medium Rare | 130-135°F | 4-5 minutes |
| Medium | 140-145°F | 5-7 minutes |
| Well Done | 160-165°F | 8-10 minutes |
These tips are for 1-inch thick steaks. Adjust the cooking time for thicker cuts. Always use a meat thermometer to check the internal temperature for the right doneness. With practice, you’ll get better at controlling the grill temperature and improve your outdoor cooking.
The Art of Seasoning: Enhancing Flavor Before Searing
Learning how to season steaks is key to making a delicious grilled dish. The right seasoning can take your steak from just okay to amazing.
Dry Rubs vs. Marinades
Both dry rubs and marinades bring something special to your steak game. A good dry rub forms a bold, flavorful crust that sears beautifully on the grill, while a well-made marinade tenderizes the meat and infuses it with rich flavor. For a quick and easy steak seasoning, try a mix of salt, black pepper, garlic powder, and paprika. If you’re going the marinade route, combine olive oil, fresh herbs, and a splash of vinegar or citrus juice for a bright, zesty finish.
Salt Timing: When to Season for Optimal Results
There’s a debate on when to add salt to steak. Some chefs, like Tom Colicchio and Jean François Bruel, say to season right before cooking. Others, like David Tanis and Judy Rodgers, suggest salting ahead of time. An experiment showed different results:
- Roast chicken seasoned a day before tasted better
- Dry-aged rib eyes got mixed reviews
- Pork racks salted before roasting stayed moister
- Braised lamb shanks seasoned ahead had deeper flavor
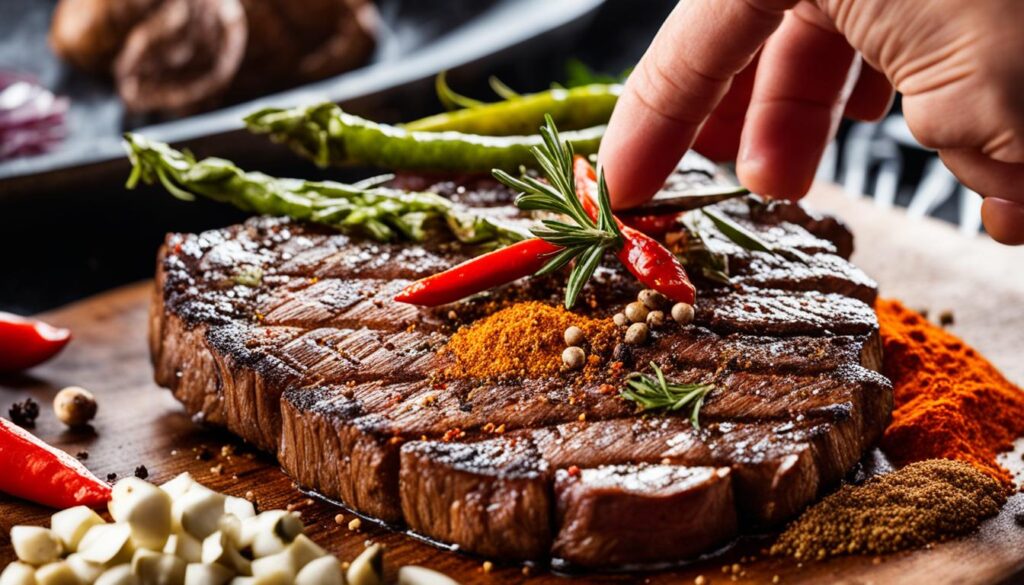
Experimenting with Herbs and Spices
Don’t be afraid to explore new herbs and spices to take your steak flavor to the next level. Classic picks like rosemary, thyme, and crushed peppercorns bring timeless depth, while a bold Texas-style rub adds smoky heat and Southern flair. The key is balance — you want to enhance, not overpower, the meat’s natural flavor. A thoughtful blend can turn a good steak into an unforgettable one.
“The right seasoning can transform a good steak into an unforgettable dining experience.”
These tips will help you make steakhouse-quality meals at home. Whether you like dry rubs or marinating, getting the seasoning right will improve your grilling skills.
Advanced Searing Techniques for Grill Masters
Grill masters aiming to elevate their outdoor cooking can explore a range of advanced searing techniques. From reverse searing to two-zone grilling, these methods help achieve a consistently perfect sear with juicy, flavorful results. Mastering these skills doesn’t just improve your steaks — it takes your entire grilling game to the next level.
The reverse sear method is a popular choice. It involves cooking your steak in a low oven until it hits 100°F inside. Then, finish it with a high-heat sear on the grill for a perfect crust.
Another technique is pan-searing on the grill with a cast-iron skillet. This method spreads heat evenly and creates a great crust. For extra flavor, add herbs, garlic, or butter to the pan while searing.
For medium-rare steak perfection, target an internal temperature of 130–135°F. Set up a two-zone grill, keeping the indirect heat zone around 225–250°F — this gives you control and avoids overcooking. After achieving a beautiful sear, let your steak rest for 10 minutes before slicing. This crucial step allows the juices to redistribute, keeping every bite tender and flavorful.
| Doneness | Internal Temperature | Searing Time (per side) |
|---|---|---|
| Rare | 125°F | 2-3 minutes |
| Medium-Rare | 135°F | 2-3 minutes |
| Medium | 145°F | 2-3 minutes |
| Medium-Well | 155°F | 2-3 minutes |
Try different cuts like ribeye, filet mignon, or porterhouse to improve your searing skills. Each cut has its own flavors and textures. This lets you show off your grilling expertise.
Determining Steak Doneness: Visual and Temperature Cues
Mastering steak doneness is key to grilling the perfect cut. By using visual cues and temperature readings, you can achieve your desired level of doneness every time. Let’s explore some effective grilling tips to help you become a steak expert.
Using a Meat Thermometer Effectively
A reliable meat thermometer is your best friend when checking steak doneness — no guesswork, just accuracy. Insert the probe into the thickest part of the steak, steering clear of any fat or bone for a true reading. For medium-rare, aim for 130°F (54°C); for medium, go for 140°F (60°C). Keep in mind, the internal temperature will continue to rise by about 5°F as the steak rests, so take it off the grill just before hitting your target. This ensures a perfectly cooked, juicy steak every time.
The Touch Test Method
If you don’t have a thermometer handy, the touch test can be a useful tool. Press the center of the steak with your finger. A rare steak will feel soft and spongy, medium-rare will have some resistance, and well-done will feel firm. This method takes practice, but it’s a valuable skill for any grill master to develop.
Resting Your Steak After Searing
After grilling, always let your steak rest for 2–3 minutes before slicing. This short pause allows the juices to redistribute throughout the meat, making each bite more tender and flavorful. During this time, carryover cooking can raise the internal temperature by 3–6°F, so be sure to factor that into your cooking calculations. With these simple grilling tips and a reliable meat thermometer, you’ll be serving up perfectly cooked steaks like a pro.