
How to Grill Chicken Thighs Perfectly Every Time: Top Tips and Tricks
Do you known about How to Grill Chicken Thighs: Ready to perfect the art of grilling chicken thighs…
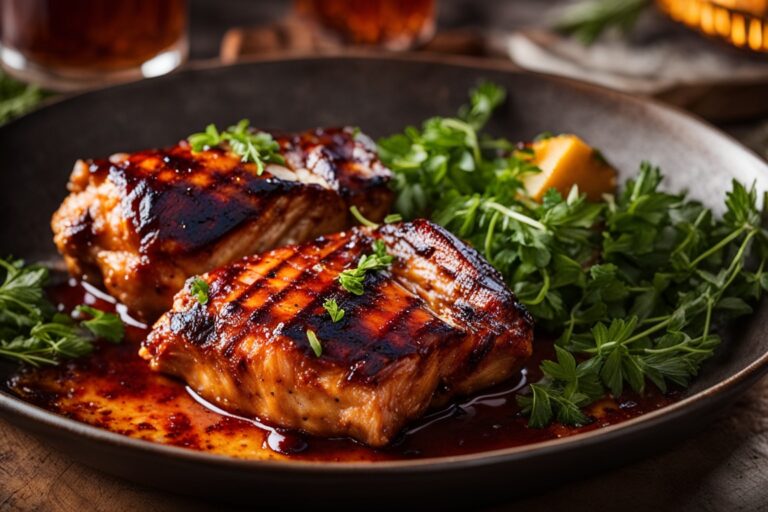
Do you known about How to Grill Chicken Thighs: Ready to perfect the art of grilling chicken thighs…
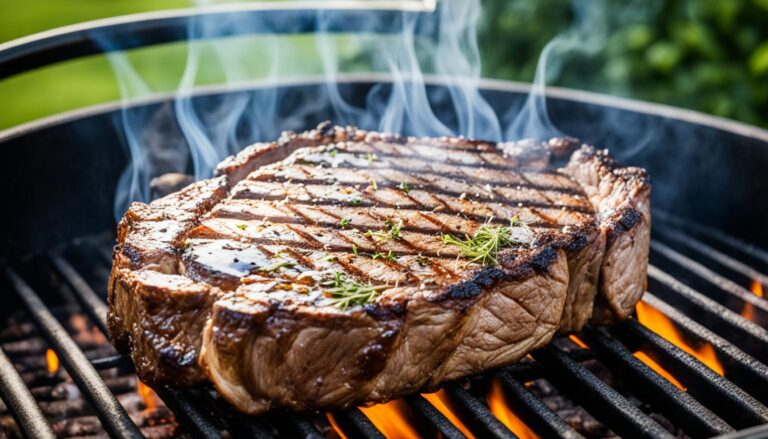
Grilling a delicious ribeye steak on your gas grill is a true art that can transform your backyard…
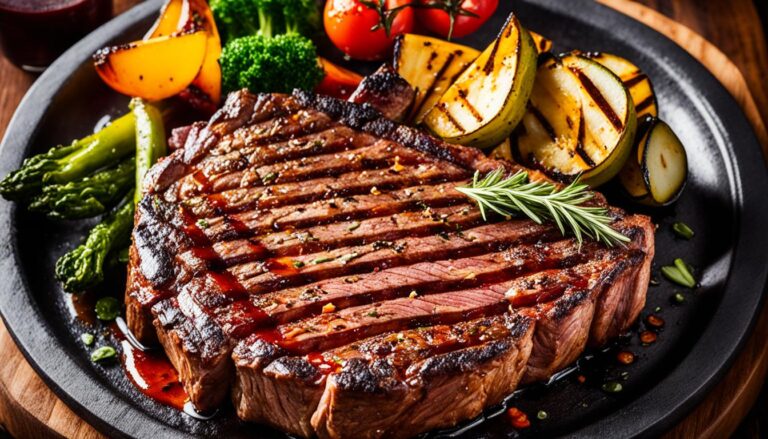
Are you ready to take your grilling skills to the next level? It’s time to master the art…
Grilling a juicy and flavorful ribeye steak is an art that every home chef can master. This guide…
Grilling a perfectly cooked ribeye steak on a charcoal grill is a true art — one that can…
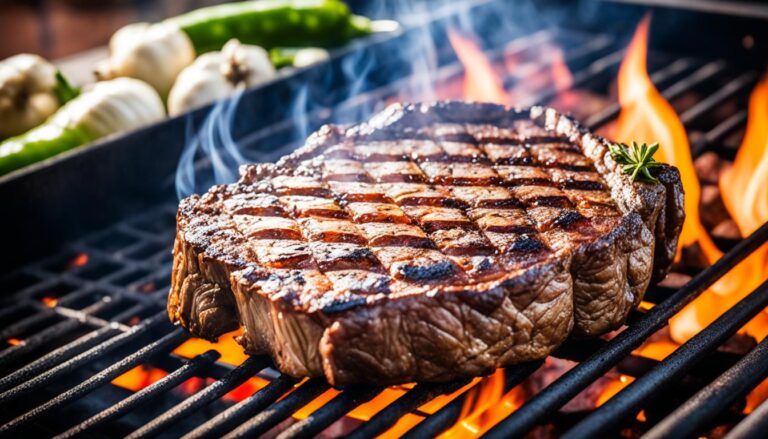
Grilling thin ribeye steaks is a simple art that can transform your backyard BBQ into something unforgettable. In…
Grilling the perfect ribeye steak hinges on hitting the right temperature. So, what temperature should ribeye be grilled…
The sound of a juicy steak sizzling on a hot grill, the scent of smoke curling through the…

To true food lovers, the sound of a steak hitting a hot pan or grill is pure music…

Envision a juicy steak sizzling on a blazing hot grill, sending up waves of savory aroma that instantly…