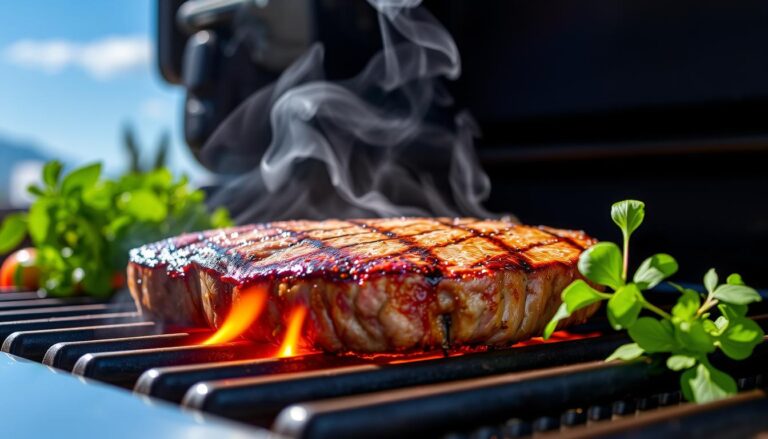
Envision a juicy steak sizzling on a blazing hot grill, sending up waves of savory aroma that instantly transport you to those unforgettable summer nights. That mouthwatering sear doesn’t happen by chance — it’s a skill. To achieve that golden, flavorful crust, you need to master the balance of high heat, perfect timing, and a little patience. Ready to learn how to sear a steak on the grill? Let’s turn up the flame and dive into the secrets of barbecue perfection.
Let’s explore steak searing and learn how to make that perfect crust. Whether you’re a pro or just starting, this technique will take your steaks to the next level.
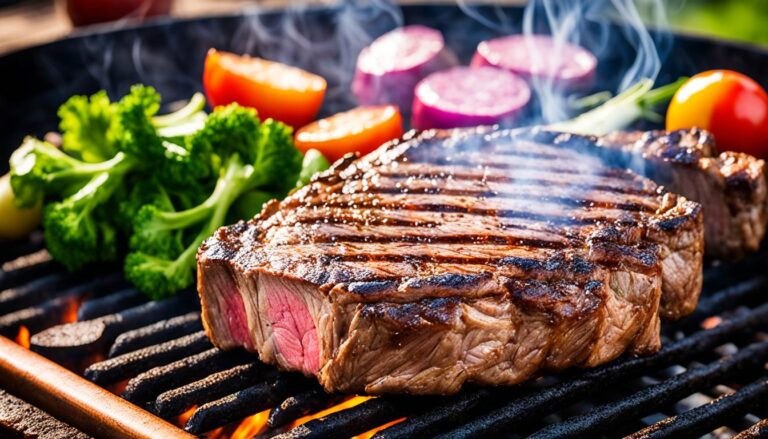
Searing isn’t just for steaks — it works wonders for chicken, pork chops, and even roasts. But today, we’re putting the spotlight on a juicy 16oz New York Strip Steak. We’ll walk you through how to choose the best cooking oils for high heat, and guide you step-by-step to achieve that perfect medium-rare doneness everyone craves. Let’s fire up the grill and bring out the best in your steak.
Are you ready to improve your grilling skills? Let’s get the grill going and learn how to make that perfect crust. Your guests will be asking for your barbecue tips.
Key Takeaways
- Searing creates a flavorful crust on steaks and other meats
- Use high heat and the right oils for optimal searing results
- Preheat your grill for 10-15 minutes before searing
- Cook New York Strip Steaks for 5-6 minutes per side for medium-rare
- Allow steaks to rest for 5 minutes after grilling to retain juices
- Experiment with marinades and seasonings to enhance flavor
- Practice and adjust your technique to perfect your steak searing skills
Understanding the Importance of Searing
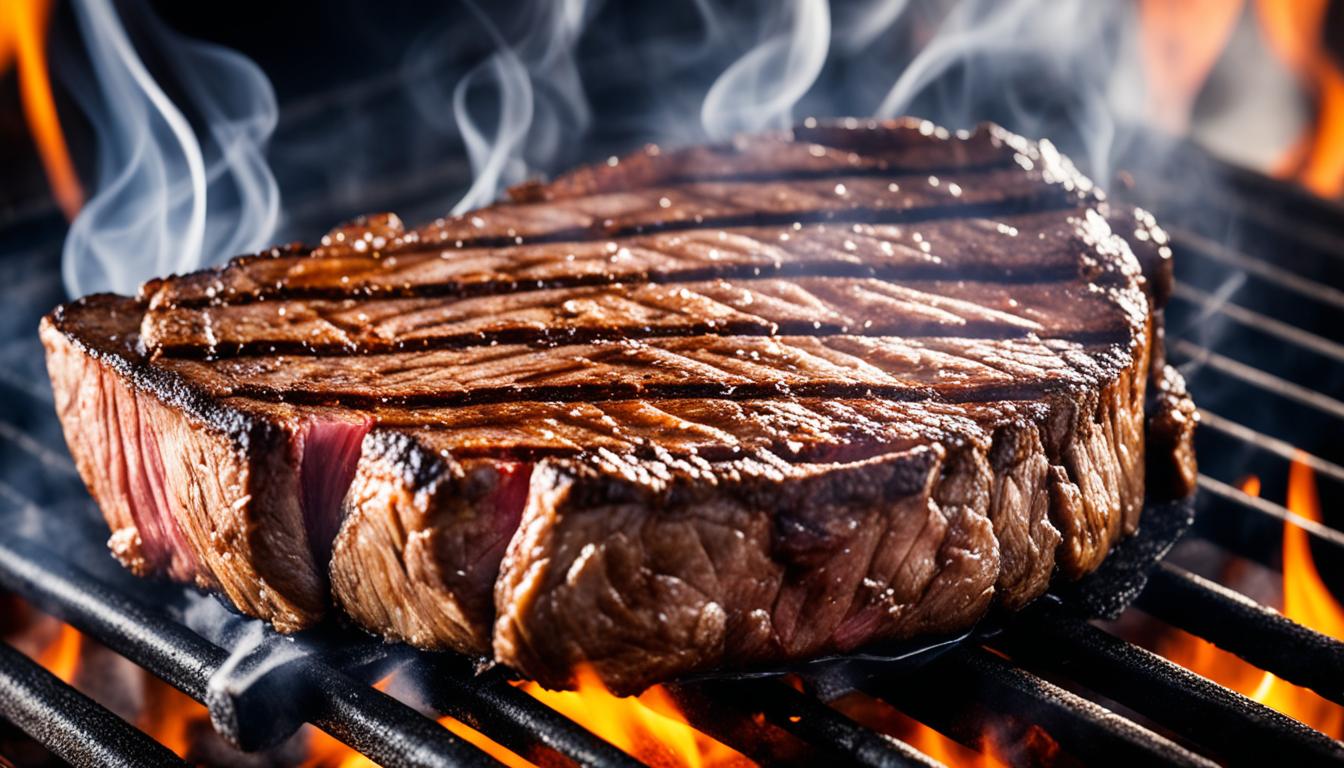
To cook the perfect steak, searing is an essential step. It involves cooking the meat quickly over very high heat until a rich, crispy brown crust forms. Many chefs and restaurateurs believe this technique enhances the beef’s flavor and tenderness — and they’re not wrong. But there’s more to it: that incredible taste comes from the Maillard reaction, a complex chemical process that creates deep, savory notes and elevates your steak to restaurant-quality.
The Maillard Reaction: Science Behind the Flavor
The magic of searing comes from the Maillard reaction, a complex process. When proteins and sugars in meat hit high heat, they change the steak’s surface into a tasty brown crust. This starts after about three to four minutes on each side during a traditional sear.
Debunking the Moisture Seal Myth
Many people believe that searing meat locks in the juices — but that’s actually a myth. Searing doesn’t seal in moisture; instead, it enhances the flavor by creating a rich, caramelized crust through the Maillard reaction. To get a truly juicy steak, the key is to let it rest after cooking — about 15 minutes, more or less. This resting period allows the juices to redistribute evenly, giving you tender, flavorful bites every time.
Why Searing Enhances Taste and Appearance
Searing boosts the steak’s taste, texture, and look through caramelization. It makes a rich, dark brown crust, unlike the lighter color from browning. This makes the steak look better and taste deeper.
- Searing takes about 7-8 minutes total, including 5 minutes prep time
- Use high heat for a shorter period compared to browning
- Aim for an internal temperature of 120°F for rare, 135°F for medium-rare
Mastering searing takes practice. Try different techniques to get professional results and bring out the best in your steaks.
Preparing Your Steak for the Grill
Preparing your steak properly is the first step to achieving that perfect sear on the grill. Take the meat out of the refrigerator about 30 minutes before cooking — this allows it to come to room temperature, ensuring even cooking from edge to center. Skipping this step can lead to an overdone outside and an undercooked middle, so a little planning goes a long way.
Next, pat the steak dry with paper towels to remove any excess moisture — this is a crucial step for getting that crispy, golden-brown exterior when searing. Once the surface is dry, lightly brush both sides with olive oil. The oil not only helps your seasonings stick, but also promotes better browning and enhances the overall flavor during grilling.

For seasoning, a mix of salt and pepper is a classic choice. For more flavor, try a dry rub with garlic powder, paprika, and herbs. Press the seasoning into the meat for better absorption.
“The secret to a great steak lies in its preparation. A well-seasoned steak is half the battle won.”
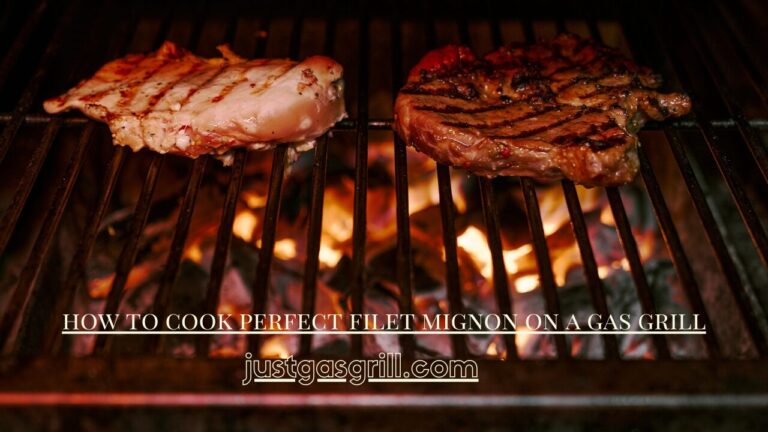
For thick cuts like ribeye or filet mignon, the reverse sear method works well. Bake the steak in a 275°F oven until it hits 100°F inside. Then, quickly sear it on the grill for a crispy crust.
| Doneness | Internal Temperature | Grilling Time (per side) |
|---|---|---|
| Rare | 120-130°F | 2-3 minutes |
| Medium-Rare | 130-140°F | 3-4 minutes |
| Medium | 140-145°F | 4-5 minutes |
| Well-Done | 160°F+ | 6-7 minutes |
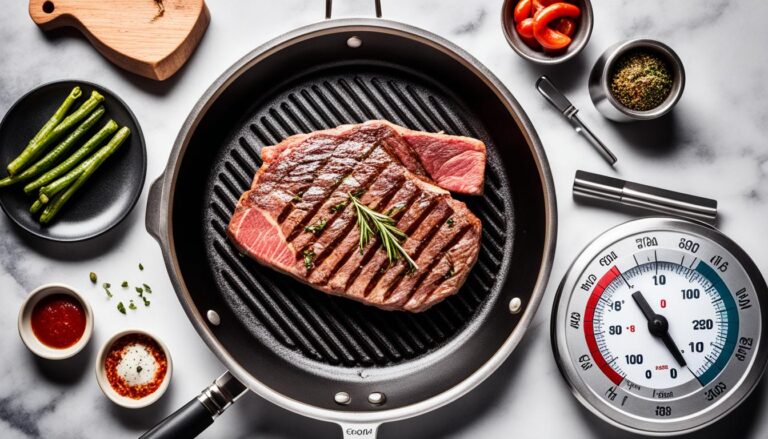
Always use an instant-read thermometer to check if your steak is done. After grilling, let the steak rest for 5 minutes. This lets the juices spread evenly before you slice and serve.
Essential Equipment for Searing on the Grill
Searing a steak to perfection isn’t just about technique — it also requires the right tools and grill setup. From choosing the best grill type to having the right searing tools on hand, everything plays a role in achieving that perfect crust. Let’s break down exactly what you’ll need to make every steak a showstopper.
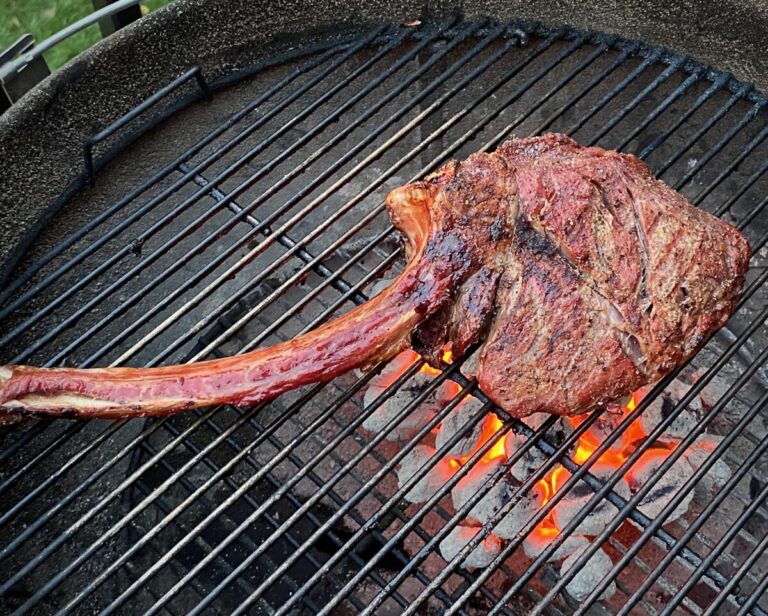
Choosing the Right Grill: Gas vs. Charcoal
When it comes to grilling, your choice often comes down to gas vs. charcoal. Gas grills are user-friendly, quick to start, and offer precise temperature control, making them ideal for beginners or weeknight grilling. Charcoal grills, on the other hand, take a bit more effort but reward you with that unmistakable smoky flavor that many grill lovers crave. In the end, it all depends on what you value more — convenience or bold flavor.

Must-Have Tools for Perfect Searing
To get a truly great sear on your steak, having the right grilling tools is essential. An instant-read thermometer takes the guesswork out of doneness, helping you hit the perfect internal temperature every time. Long-handled tongs let you flip your steak safely without risking burns, while a sturdy grill brush is crucial for keeping your grill grates clean before and after cooking. These simple tools make a big difference in both safety and flavor.
| Tool | Purpose |
|---|---|
| Instant-read thermometer | Measure internal temperature |
| Long-handled tongs | Safely handle steaks |
| Grill brush | Clean grates |
Importance of a Clean Grilling Surface
Clean grates are key for perfect searing. A clean surface stops steaks from sticking and spreads heat evenly. Use your grill brush to clean before and after. Preheat your grill to 450-500°F for the best crust.
Remember, temperature control is key to successful searing. On a gas grill, aim for a temperature between 400–450°F to get that ideal crust. If you’re using a charcoal grill, set up a two-zone fire — one side for high heat, the other for indirect cooking. With the right grilling tools and a few solid techniques, you’ll be searing steaks like a pro in no time.
How Do You Sear a Steak on the Grill: Step-by-Step Guide
Do you want to learn how to perfectly cook a steak by searing it? Start by preheating your grill to a blazing 500°F. Gas grills take about 15 minutes to preheat, while charcoal should be ready in 10-15 minutes.
Once your grill is hot and ready, lay your seasoned steak directly on the grill grates to achieve those iconic grill marks. Let it sear undisturbed, flipping only once or twice to build a deep, flavorful crust. For thinner cuts, sear each side for about two minutes. If you’re working with a 1½-inch thick ribeye, cook it for about seven minutes on one side and five minutes on the other for a perfect medium-rare finish.
Use an instant-read thermometer to check if the steak has reached its desired doneness. For medium-rare, look for 130°-135°F. Medium is 135°-145°F, and medium-well is 145°-155°F.
For thicker cuts of steak, searing is just the first step. After developing that golden crust, move the steak to a cooler part of the grill — this indirect heat helps it cook through without burning the outside. Once it’s off the grill, let it rest for 10–15 minutes. This crucial step allows the juices to redistribute, making the entire steak more tender, juicy, and packed with flavor.
Garlic-Parmesan roasted carrots or a wedge salad would both be delicious sides for your steak dinner. And if you want some extra flavor, try topping your steak with Tuscan butter or red wine butter.