
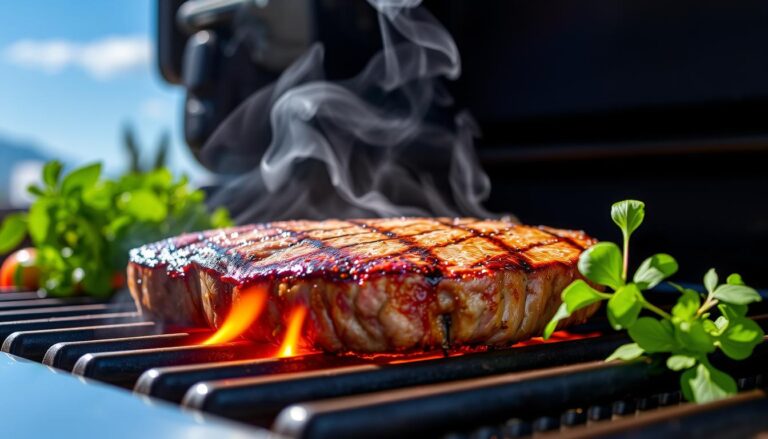
how to grill a ribeye steak on a gas grill
Grilling a delicious ribeye steak on your gas grill is a true art that can transform your backyard…
Grilling a delicious ribeye steak on your gas grill is a true art that can transform your backyard…
Are you ready to take your grilling skills to the next level? It’s time to master the art…
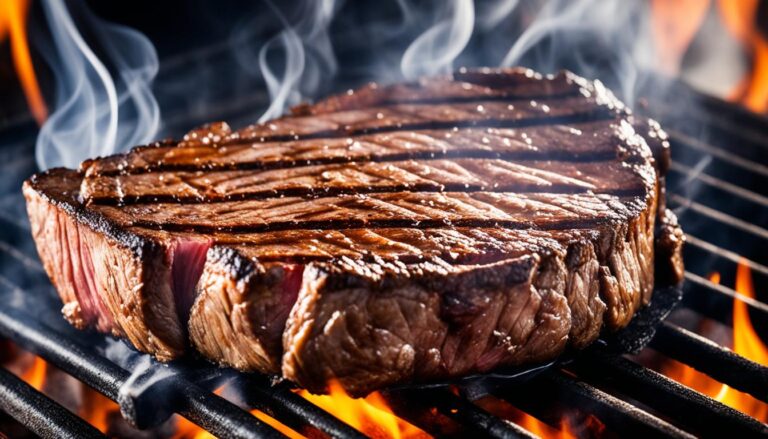
To true food lovers, the sound of a steak hitting a hot pan or grill is pure music…
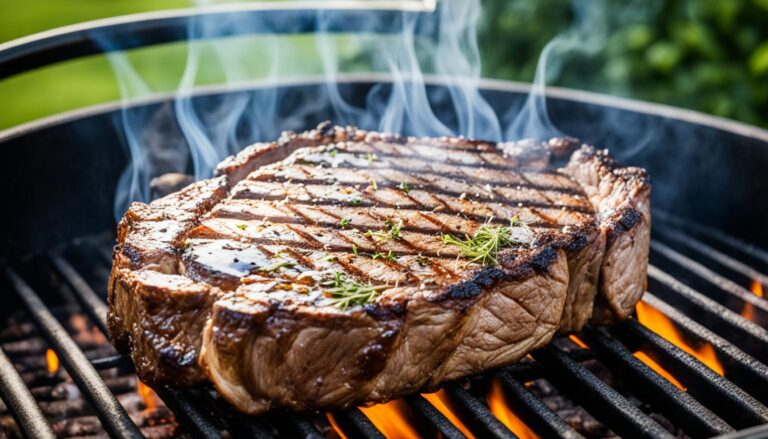
Envision a juicy steak sizzling on a blazing hot grill, sending up waves of savory aroma that instantly…
Imagine it’s a perfect summer evening, the sun is setting, and the irresistible smell of grilled food fills…
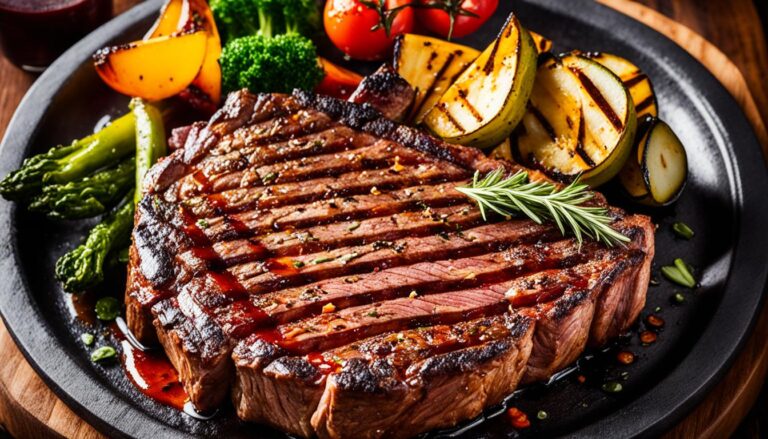
The sizzle of a juicy steak and the smoky aroma of grilled veggies—there’s nothing like a backyard cookout….
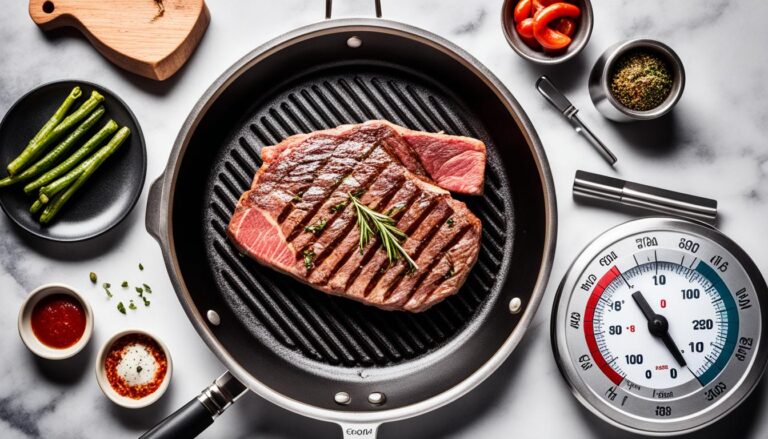
Grilling steaks might seem a little intimidating at first, but this easy-to-follow guide simplifies the process. Sirloin steak…